Your cart is currently empty!
Playlist includes 8 training videos
CPR is a vital and essential skill that can save someone’s life. The two key elements of CPR are pressing on the chest, also called compressions, and providing breaths. Any child past puberty is treated with adult CPR. Young children and infants require special considerations for CPR.
CPR is comprised of chest compressions, airway management, and rescue breathing. To deliver high-quality CPR, you must begin high-quality chest compressions quickly, as these are considered the most important factor in giving the person a chance to recover. Compressing the chest circulates blood to the brain and the heart. High-quality chest compressions are delivered at a rate between 100 to 120 beats per minute and at a depth between 2 to 2.4 inches (5 to 6 cm).
The importance of early initiation of CPR by lay rescuers has been re-emphasized by the 2020 ILCOR Guidelines for CPR. The risk of harm to the patient is low if the patient is not in cardiac arrest. Bystanders should not be afraid to start CPR even if they are not sure whether the victim is breathing or is in cardiac arrest.
When the person is unresponsive and is not breathing or only gasping for air, provide CPR.
Continue giving compressions and breaths until the AED arrives, until advanced help arrives and assumes care, the scene becomes unsafe, or until the person begins to respond.
For lay rescuers trained in chest compression-only CPR, it is recommended that they provide chest compression-only CPR for adults needing resuscitation. For lay rescuers trained in CPR using chest compressions and ventilation, rescue breaths, it is reasonable to provide ventilation, rescue breaths, and chest compressions for the adult in cardiac arrest.
As a rescuer, if you are untrained in CPR, then give the “hands-only” CPR. The “hands-only” CPR is when you give continuous compressions but no breaths.
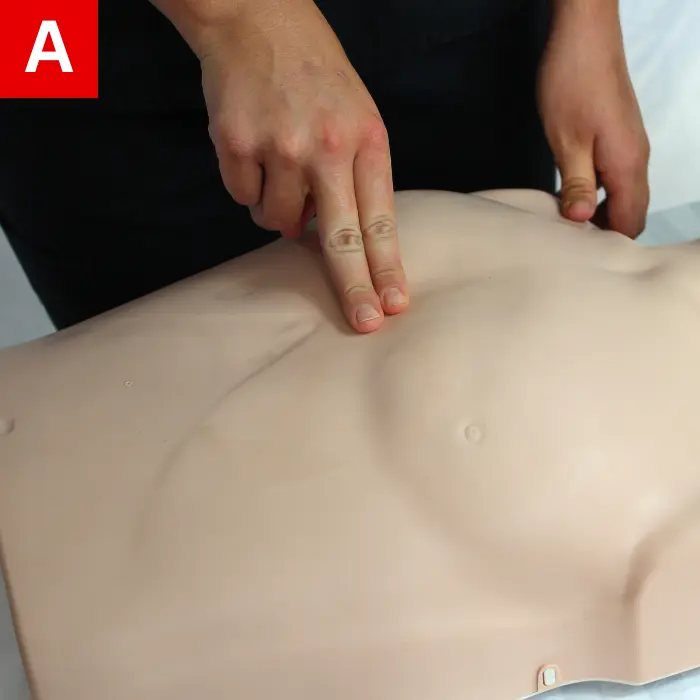
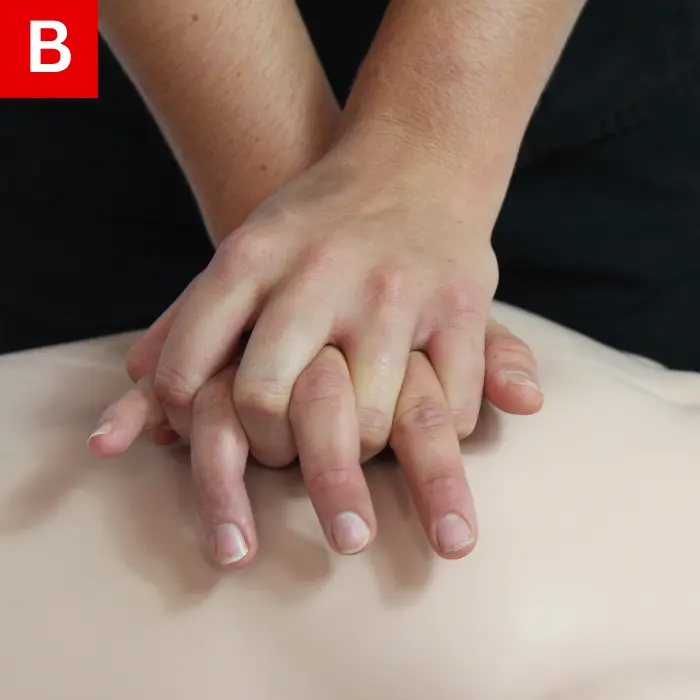
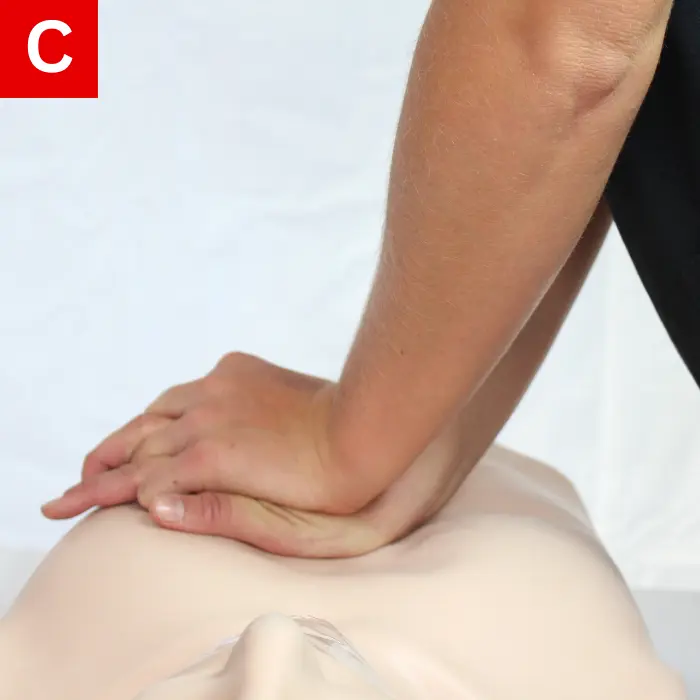
Chest compressions have the greatest impact for survival. Many rescuers fail to push hard or fast enough. High-quality chest compressions have the greatest chance to save a life.
Chest compressions should always be given at a rate of 100 to 120 beats per minute and at a depth between 2 to 2.4 inches (5 to 6 cm) for adults in cardiac arrest. Compressing the chest slower than 100 beats per minute is less likely to provide enough circulation to the brain, heart, and other vital organs, while compressing faster than 120 beats per minute does not provide enough time for the heart to fill between each compression, which will reduce output as well. Similarly, pressing the chest deeper than 2.4 inches (6 cm) increases the risk of injuring the person, while not pressing deep enough will not squeeze the heart enough to provide adequate blood flow.
CPR always begins with compressions before administering breaths. Rescuers who are uncomfortable performing mouth-to-mouth and do not have a mask may perform hands-only CPR and give compressions at a rate of 100 to 120 beats per minute and at a depth between 2 to 2.4 inches (5 to 6 cm).
Performing proper CPR is often tiring. Ask to switch positions when tired if another rescuer is available to help. Monitor each other’s performance, providing encouragement, and offering to switch when fatigue sets in.
Giving breaths during CPR can help maintain a supply of
oxygen in the lungs. Oxygen, in turn, is circulated to the brain
and to the vital organs by chest compressions.
The preferred method is to use a mask; however, mouth-to-mouth
can also be performed. A correctly executed breath will
cause the person’s chest to rise.
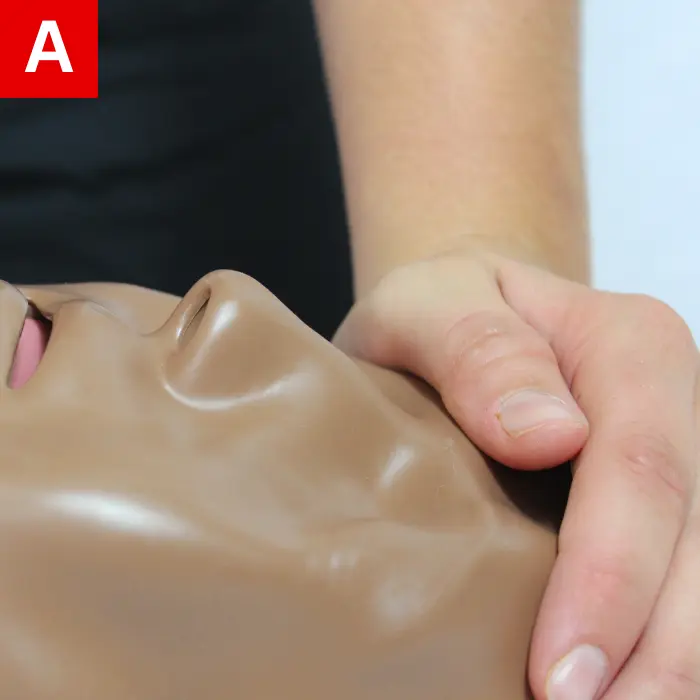
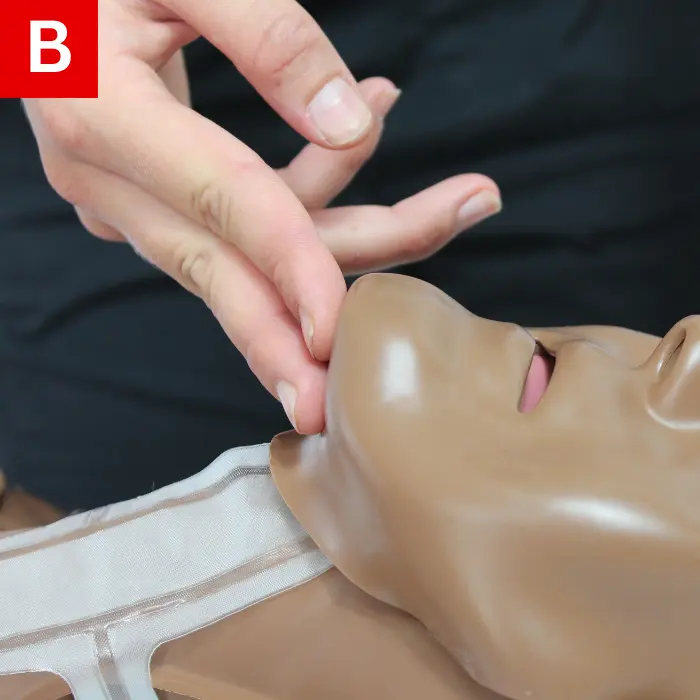
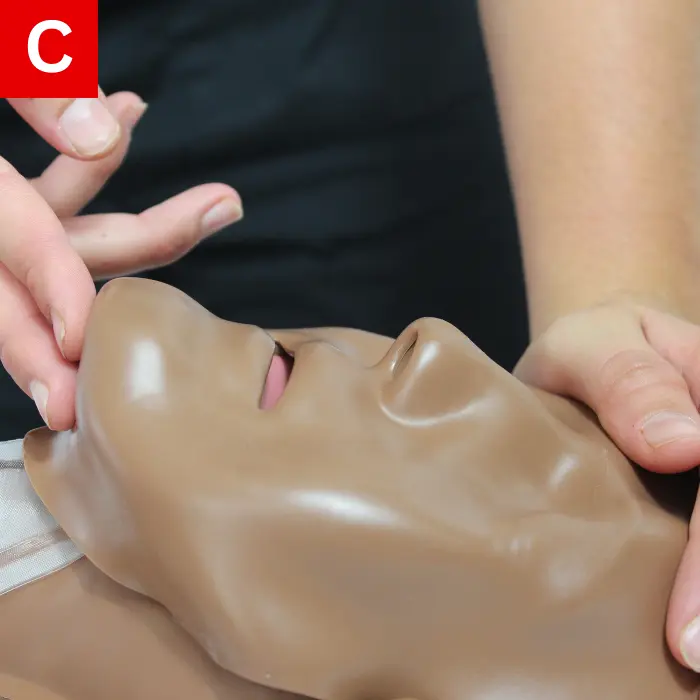
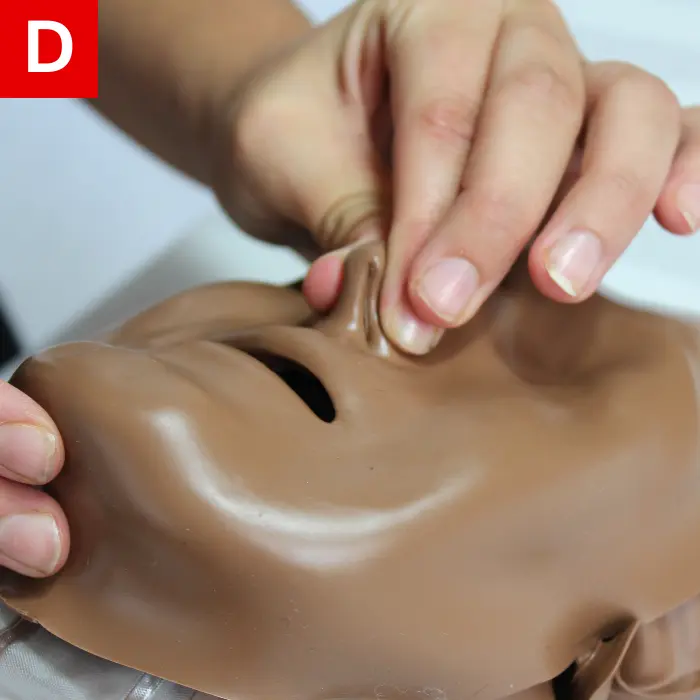
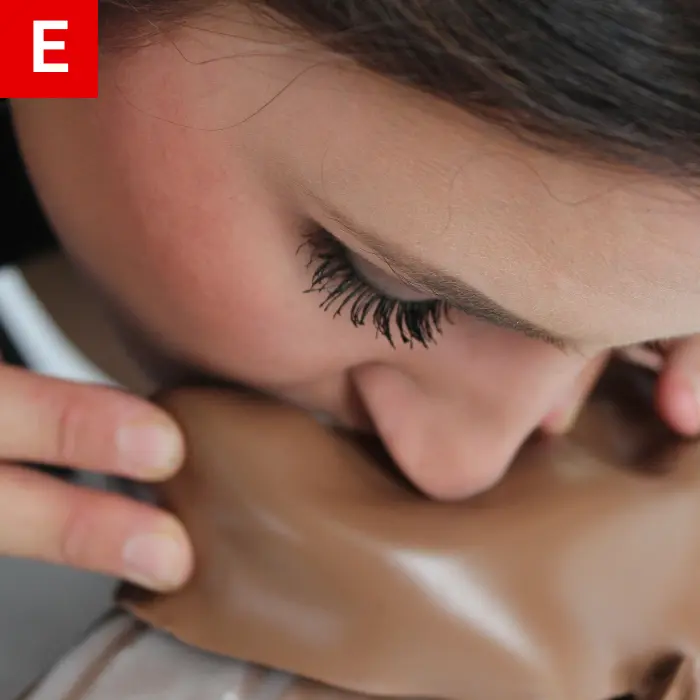
If the chest does not rise, reposition the airway. Let their head go back to a normal position and repeat the head-tilt/chin-lift maneuver. Then give another breath and look for the chest to rise.
Perform the chest compressions without interruption. It should take no longer than 10 seconds to give two breaths. If the person’s chest fails to rise within 10 seconds, begin chest compressions again.
CPR, including giving breaths, is generally safe. If a mask is available, it should be used. The mask fits over the victim’s
mouth and nose. Most masks
have a pointed end, which should go over
the bridge of the person’s nose.
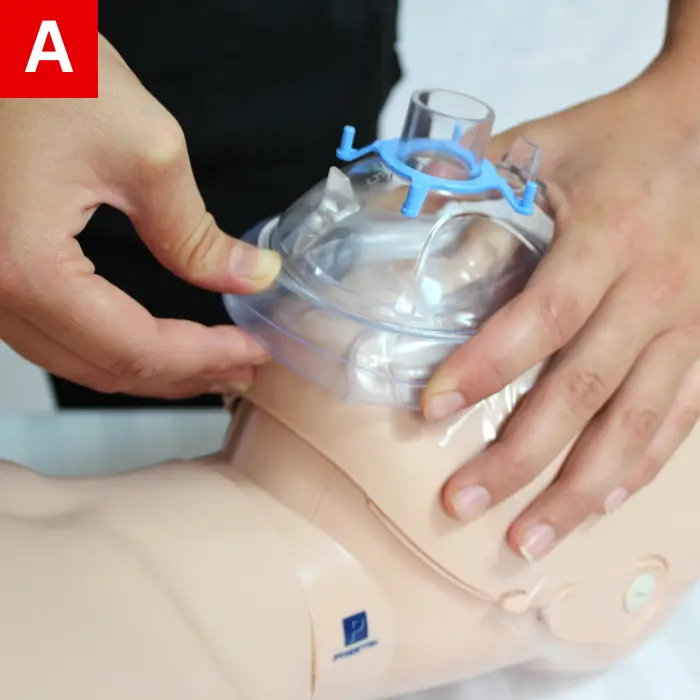
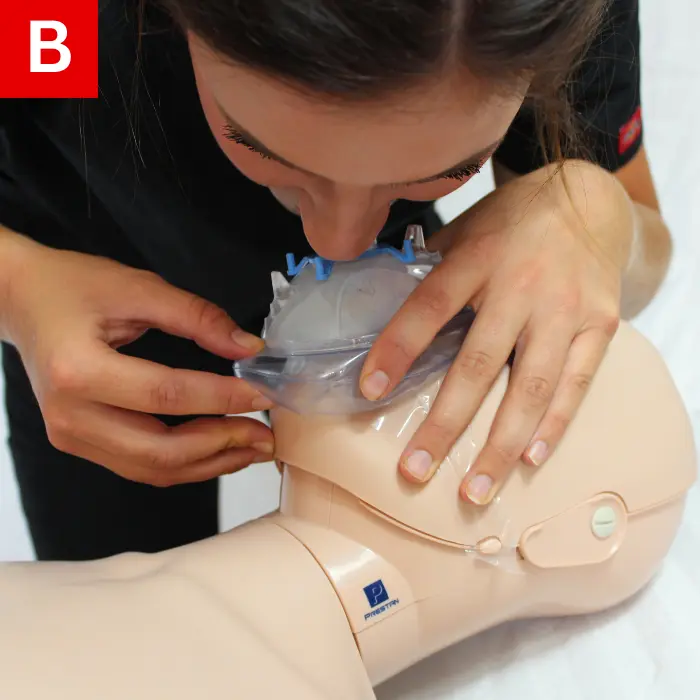
When the heart does not work properly, a person may collapse.
An AED can deliver a shock to help the heart restart its normal rhythm. These portable units have a computer that analyzes the heart rhythm and determines if a shock is needed. Starting CPR immediately and quickly using an AED improves the chances of survival.
The AED is very simple to use. Follow the diagram or voice instructions given by the AED.
Apply the pads properly and let the computer determine if and when a shock is needed. Make sure no one is touching the person if the AED advises you to push the shock button.
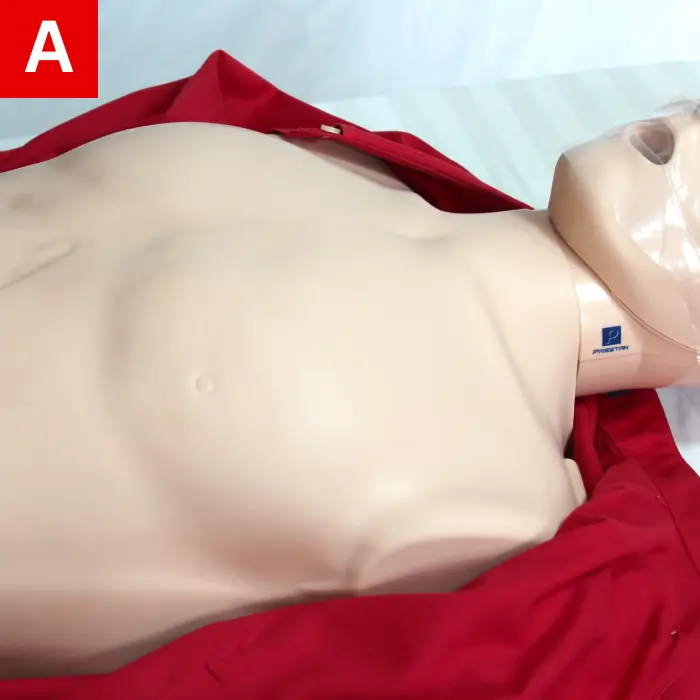
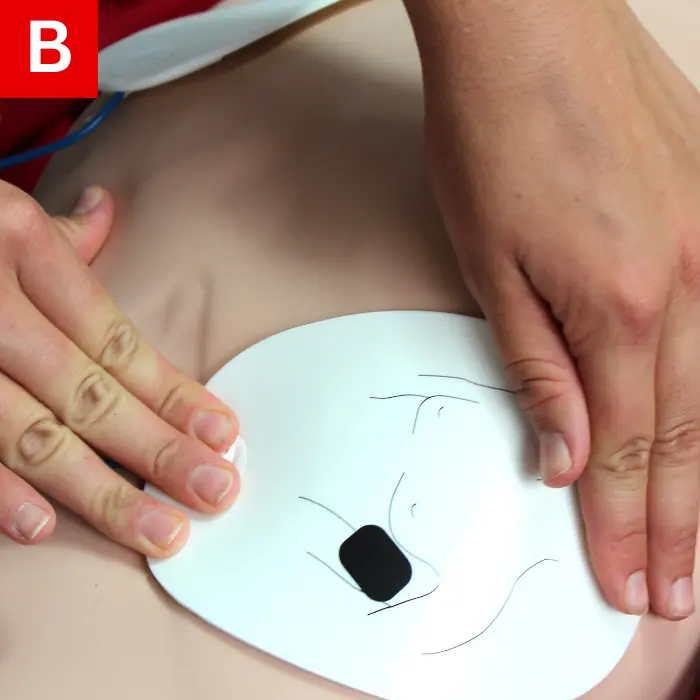
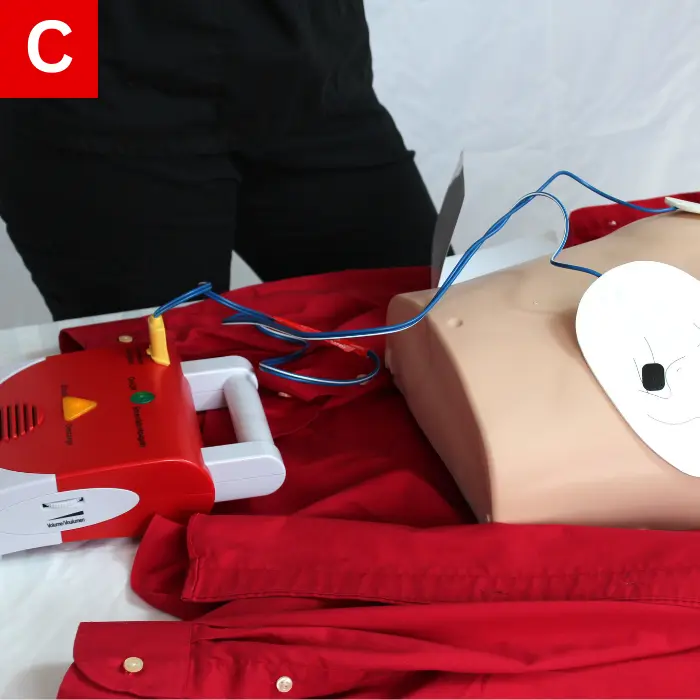
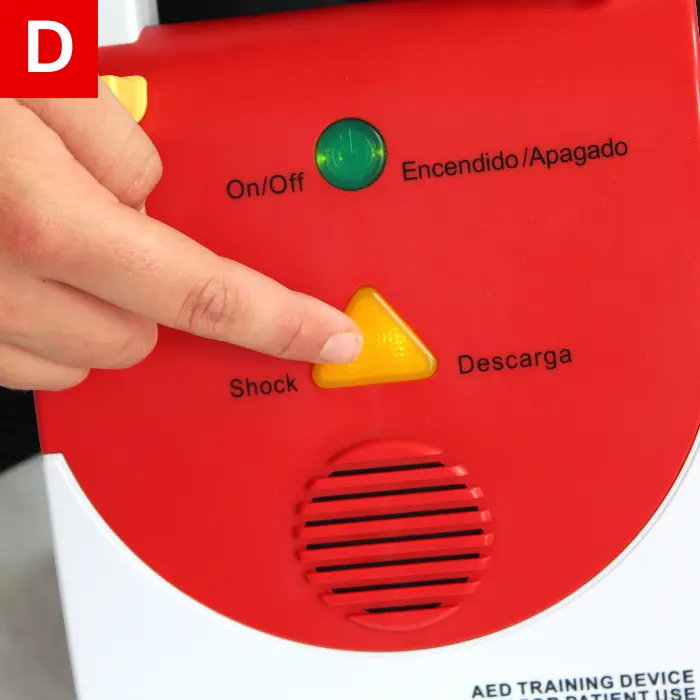
If an AED is not quickly available, begin CPR, and send someone to locate an AED.
An AED should be used anytime a person collapses, fails to respond, and is only gasping, or barely breathing.
Turn on the AED and then follow the prompts you see and hear.
If a person has a medication patch on their chest, remove it before applying the AED pads. Also, if there is a bulge under the skin of their chest, a pacemaker may be present. Avoid placing the AED pads over this device and adjust placement accordingly. If the AED malfunctions or does not work, continue performing CPR until additional help arrives.
When encountering a person who is unresponsive, barely breathing, or not breathing quickly, call 911/EMS. Immediate activation of EMS by dialing 911 or the appropriate emergency number is the first step in the Chain of Survival. When available, use of a cellular phone may allow activation of EMS without leaving the person. Many cellular phones incorporate a speakerphone function, which allows a lone rescuer to communicate with the 911/EMS operator while delivering care to the person.
In situations where a cell phone is not available, it is preferred to send a second rescuer or a bystander to call 911/EMS, so the injured/ill person is not left alone. That second rescuer or bystander may also retrieve an AED and/or a first aid kit.
Always make sure the scene is safe when approaching an injured/ill person. If you become injured or disabled, you will be unable to help the person and will become a second person to be taken care of by rescuers.
Tap the person and talk loudly: “Are you okay?” If they fail to respond or react, they are considered unresponsive. Yell for help and send somebody to call 911/EMS and get an AED if possible.
Stay on the phone until the 911/EMS operator tells you it is okay to hang up. The operator can help you make decisions and will not delay the arrival of additional help.
After determining that the person is unresponsive, check their breathing. If they are barely breathing or only gasping, begin CPR. Gasping may be forceful or weak, but it is generally ineffective. This is an abnormal sign and often occurs in cardiac arrest. In this situation, immediately begin CPR.
If the person is breathing normally but not responding, roll them onto their side. This can help keep their airway open and prevent them from choking on vomit. You need to monitor their breathing and be prepared to start CPR if their condition worsens.
Choking is a preventable cause of death that occurs when food or another object gets stuck in the throat. The airway gets blocked and immediate action is needed. The person typically only has a few minutes before they pass out. The universal sign of choking is holding the neck with one or both hands.
Choking can be mild or severe. Table 1 will help determine whether it is mild or severe.
| DEGREE OF OBSTRUCTION | RESPONSIVENESS | RESCUERS ACTIONS |
|---|---|---|
| Mild Obstruction |
|
|
| Severe Obstruction |
|
|
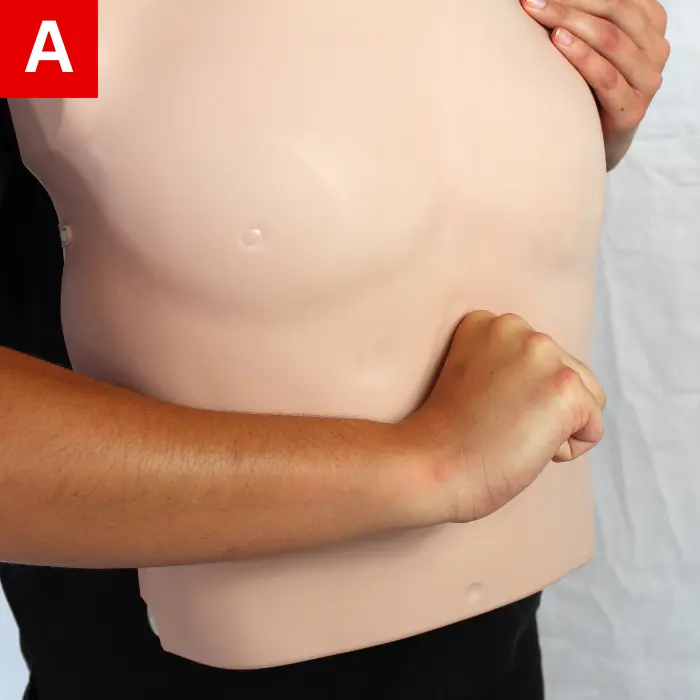
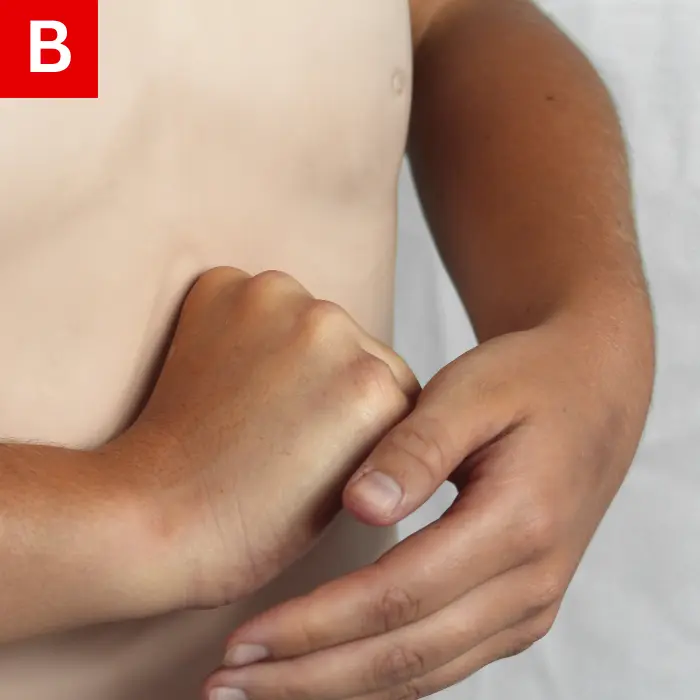
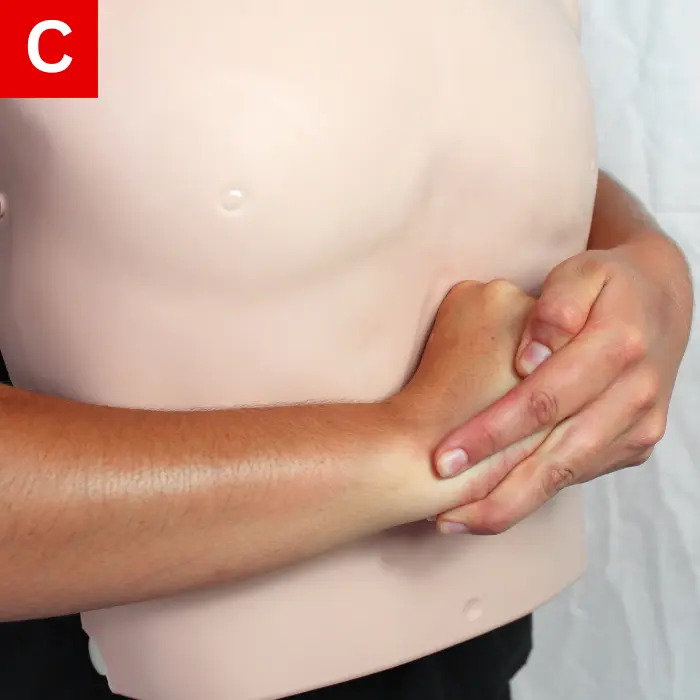
Very large persons or pregnant women can be treated with chest thrusts. In this case, do the following:
Wrap both arms around the person. Pull your arms straight back to deliver the chest thrusts.